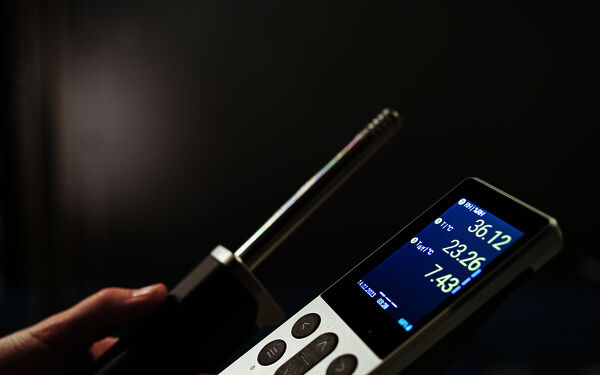
Field spot-checking is a common way to determine the measurement accuracy of a fixed measurement instrument between calibration intervals. However, it is important to understand that spot-checking is different from field calibration. Spot-checking and field calibration are similar in that they both use a reference standard to verify the measurement against the unit under test.
Spot-checking is a less time-consuming process than calibration, in part because the calibration process can include as-found data, adjustment (if necessary), and as-left data whereas spot-checking is a verification that the unit under test is still within specification. It is helpful to remember that the calibration process deals with the instrument involved, not the measurements it produces. Field calibration processes should be performed under normal process conditions using standard laboratory determinations of sample concentration.
Spot-checking can also be part of a verification process because it ensures that measurement output on a process sensor is within specifications. Simply stated, in spot-checking, verification and field calibration, you are comparing measurements. Ideally, the device you are using to check is known to be accurate based on its calibration status. However, there are differences in spot-checking, verification, and calibration, most importantly, in calibration you may make decisions and adjustments based on your comparison.
